
Freefalling is not a term most non-freedivers associate with freediving. But as an actual freediver, once you start to train depths that are deeper than 15-20m (49-65ft), freefalling becomes a whole new fun and exciting (yet sometimes difficult) challenge. But first, what exactly is the freefall in freediving?
What Is The Freefall?
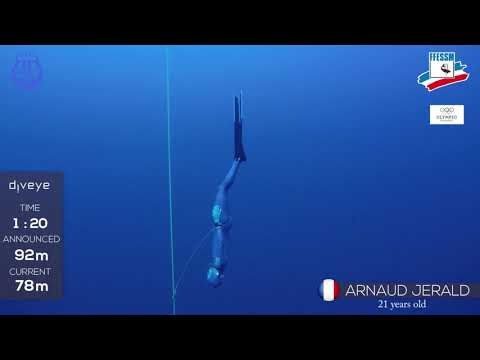
We are positively buoyant at the surface, and add weights to make ourselves neutrally buoyant at around 10-15m (32-49ft) since most shallow water blackouts occur between 10m (32ft) and the surface; this is a safety concept. Our lungs are at their total lung capacity at the surface with a full breath, but according to Boyle’s Law, the volume of air in our lungs decreases as we descend, causing our lungs to shrink and causing us to become less buoyant. After passing the point of neutral buoyancy, we become negatively buoyant and use less strength and force on the descent due to gravity lending us a helping hand. Freefalling in freediving is the point where we stop moving completely, whether it is finning in CWT (Constant Weight), pulling the line in FIM (Free Immersion), or using arm and leg strokes in CNF (Constant Weight No-Fins), and we assume a relaxed, yet streamlined position, and start to sink, or “freefall.”
Why Do We Freefall?
If we are in constant motion throughout our entire dive, we are activating muscles and burning through our oxygen, which considerably shortens our dive times and limits our depth. Freefalling allows us to limit muscle activation and conserve oxygen, which lets us put more focus on relaxation and equalization. These two elements become more challenging the deeper a freediver goes, so it is essential to incorporate freefall after about 1/3 of your dive, depending on how deep you plan on going.
It is also important to remember that freefalling is fun! Being in the water without heavy scuba gear already feels weightless and liberating, but when we freefall, we are truly letting go and letting gravity take over. The feeling of water rushing past your face and hands while keeping your eyes closed (if you are holding the line) can create such a dream-like state. If you have a dive where you experience efficient freefall, complete relaxation, and effective equalization, you might even forget that you are diving! These are the dives that feel the most surreal and amazing and will redesign your freediving goals because that is a feeling freedivers chase.
How Do We Freefall?
Freefall begins with establishing neutral buoyancy and knowing exactly where it is. Neutral buoyancy should be at around 1/3 of the depth of your total dive, but no less than 10m (32ft). Check how to establish your own neutral buoyancy. Freefall should begin about 5-7m (16-22ft) after you reach neutral buoyancy, so you are already adequately negatively buoyant before you stop all movement.
For example, if you are diving to 30m (98ft) and are neutrally buoyant at 10m (32ft), consider setting a dive alarm at 15-17m (49-55ft) or, if you don’t have a dive computer, count the line markers until you are roughly at the correct depth to begin freefall. Some freedivers do not like setting alarms and instead freefall on instinct, or measure and count fin strokes, arm strokes, or arm pulls. So what comes after the alarm?
- At the appropriate depth for freefall, give two final, slightly stronger kicks/pulls/one last arm stroke (CNF).
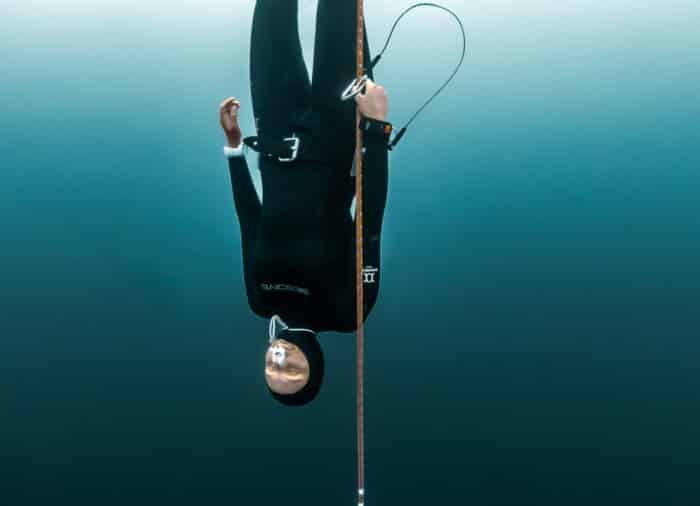
- Keep your arms at your sides and flush with your legs if you are using a nose clip. If you are using a mask, keep one arm flush with your legs and the other arm tucked at your side with your elbow to your ribcage while equalizing.
- Slightly tuck your chin into your chest to aid in equalization and prevent against trachea squeeze.
- Slightly round your shoulders forward and relax your belly so that you are not keeping any tension in your upper body.
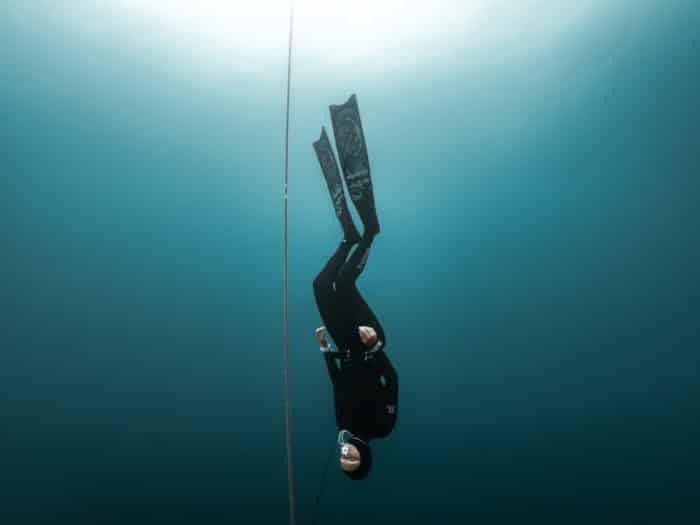
- Have your legs slightly bent forward at the hips, with slightly bent knees that will cause your fins to run parallel with the line. Do not relax your legs too much, or your legs might end up falling backward, and you will end up either falling at an angle or having a slow freefall due to not being hydrodynamic.
- If you are holding the line while freefalling, keep a loose “O” position with your pointer finger and thumb, so you are not dragging on the line and losing speed. The rope should be running down the side of your body and near your shoulder. This way, you can feel your body positioning and keep your eyes closed. Do not stretch out your arm in front of you to hold the rope as it will create tension in that area of your body and also make you less hydrodynamic, greatly slowing you down.
- If you are not holding the line, make sure to open your eyes every once in a while throughout your dive to check line positioning.
- Make sure that when you reach the end of the line, avoid quick or jerky movements. Turn slowly and keep your head tucked in or in a neutral position to avoid any injuries at depth.
Final considerations
A streamlined and efficient freefall should yield 1m (3ft) of depth per second. Some people are tempted to overweight themselves, allowing for a faster and earlier freefall. As good as that might sound, it should never be done, as this is very dangerous and will cause you to be heavy on the way up, burning more oxygen at a critical point in your dive.
It is recommended that you work with a freediving instructor or coach on freefalling, especially with the aid of an underwater camera, so that you can see for yourself exactly what you need to work on. A good freefall is something that needs to be practiced and perfected over time and can make a huge difference in your dive time and depth reached, so make it an important part of your training.
Feature Photo by Daan Verhoeven


