
Scuba diving photography can be difficult or very easy, depending on how much time and effort you are willing to put in. Fortunately, unlike many other things, you can get very good results by following simple techniques that will take your underwater imaging to the next level.

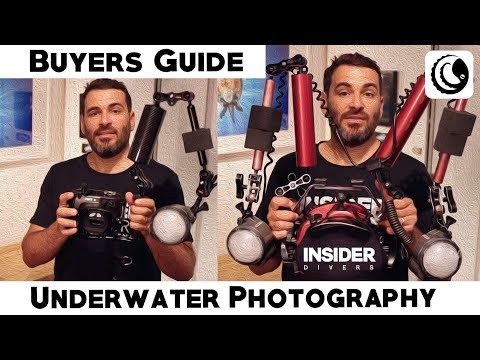
Choosing the Right Camera and Housing for Scuba Diving Photography
Choosing the right camera for scuba diving photography can make a huge difference to your underwater imaging journey. Choose wisely, and you will progress steadily with small challenges and developing your skills and abilities. Choose the wrong setup, and you can end up being frustrated with the steep learning curve and lack of ability to shoot the image you want.
Compact Camera
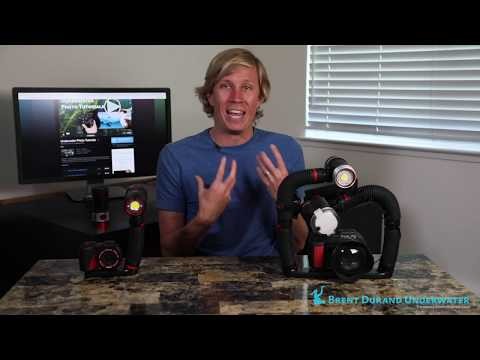
Compact cameras and housing are a great way to get into scuba diving photography. They are the sweet spot of price and performance. Historically, they were a stepping stone to more advanced rigs. However, with the development of camera technology, many professionals use them exclusively.
Their main advantage is the ability to change lenses underwater. This gives you huge flexibility in shooting multiple different subjects without much issue. If you want to get into underwater photography, you cannot go wrong with a compact and housing!
DSLR/Mirrorless
There is not much to be said about mirrorless and DSLR cameras. They are purely the realm of professional or very experienced underwater photographers. Since most of them use a dry lens system (attached to the camera inside the housing), you can change it in the water, so you have to know what you are trying to shoot before you get in the water. Some pros carry 2 or 3 cameras for different shots depending on the creature.
Phone & Underwater Case
In the last few years, phone cameras have become better and better, as have their underwater cases and housings. There is a genuine argument to be made that they make an ideal starting point in your scuba diving photography journey. Generally, starting with your phone is cheaper since you only need to buy a housing and are already familiar with how your phone camera works.
If you plan to shoot images on a few dives per year in tropical locations, your phone and housing can be the perfect combination. The only drawback is that if your housing leaks, your new expensive phone is toast.
Composition Techniques
When it comes to scuba diving photography, a little composition goes a very long way. Get your composition right, and you can turn an ordinary subject into an extraordinary picture. Get your timing and composition perfect, and you are in the realm of award-winning images. So, what composition techniques take your images to the next level?
It’s All in the Eyes
Never has a truer word been said talking about photography. The eyes are a window to the soul, the saying goes, whether it is a human, a fish, or a dog. More often than not, if you concentrate on the creatures’ eyes, you will capture an image that evokes so much more and is much more interesting.
Some of the most stunning scuba diving photography images are close-ups of a fisheye in which you can see items reflected. Always try to capture the eyes in a shot to produce better images that look artistic, unlike a fish ID guidebook.
Aim For the Head
The head conveys emotion, action, and activity, all qualities that make images interesting and beautiful. Always try and focus on your subject’s head. Quite often, it makes a better picture to have a shot of the head in focus and the rest of the body either blurred or out of shot.
This technique can produce stunning scuba diving photography images regardless of the size of the subject. Photographers use this method of composition with subjects as small as tiny nudibranchs or as big as whales and whale sharks. This is especially true if the image also captures the eye, making it even more interesting.
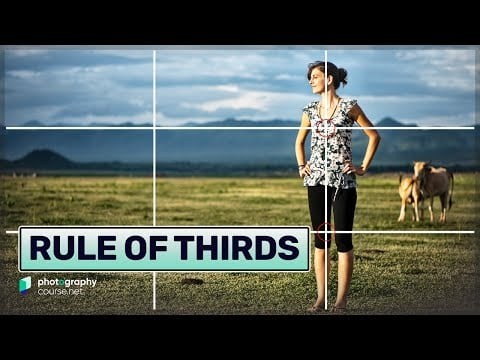
The Rule of Thirds
The rule of thirds is a great composition technique that will improve your composition above and below the water. The rule aims to place your subject in the best position so that the viewer’s eye is drawn to the image’s most important aspects.
Split your image into three equal segments, with two lines going vertically and two horizontally. Then, take your shot, placing the important feature of the image at the intersection of these lines. This feature can be a fish eye, mouth, or any other feature you want to focus on and be prominent in the image.
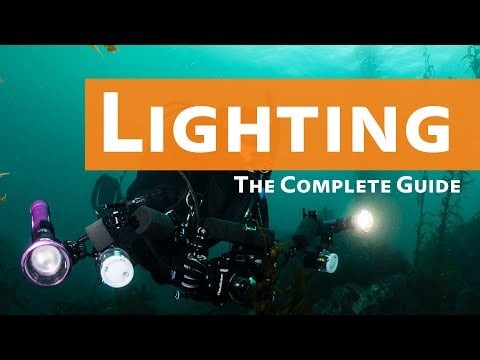
Lighting Underwater
Lighting underwater is an art form that takes time to master and can make or break your scuba diving photography. Too much light and it ruins your images and washes them out. There is too little lighting, and your images are dark and uninspiring. So, how do you take your scuba diving photography to the next level and master lighting?
The first step is to buy a red filter; this puts the color back in your images, and you don’t have to worry too much about lighting. Instead, you can focus on developing your technique and understanding how your camera setting works. At the same time, the filter will allow you to produce decent-quality images.
Once comfortable with your camera and red filter, move up to one strobe on the arm. Learning to use your strobe can be tricky. The best strategy is often to find one subject, ideally something stationary, and take multiple shots of it, moving the strobe arm around each time. After each shot, review the image and note the strobe position in an underwater notebook or slate.
With time, this will let you understand how the strobe lights interact with your camera, which positions work best, and can produce the perfect effects and shots, taking your scuba diving photography to the next level.
Post-Processing Tips
Regarding scuba diving photography posts, post-processing should be a simple matter of fine-tuning a great image. It is not creating a great image out of a bad one. Keep your touches light and focus on improving and highlighting. For instance, it helps to tweak the brightness or contrast or even sharpen the image.
You can also use post-processing to remove the odd piece of backscatter or smooth out a small color anomaly. However, you should not use post-processing to remove inconvenient elements of the photo or, worse, add elements. You are now leaving scuba diving photography and entering the realm of CGI creation. The best policy in post-processing is to keep your touch as light as possible.
Top Underwater Photography Destinations
Almost any great tropical destination with good reef life is ideal for scuba diving photography. While some destinations stand out for specific types of creatures, you can generally do no wrong heading somewhere tropical. Renowned Caribbean, Red Sea, and Barrier Reef destinations are great for underwater photography.
However, if you are after bigger stuff like whale sharks and lots of action, you can head to places like The Galapagos or Socorro Island. Or even Raja Ampat if you are after big mantas.
On the other end of the spectrum, if you’re into smaller stuff and muck diving, places like Bali, Sipadan, and the Lembeh straits are a mecca where you can spend hours digging around to get the perfect image of a pygmy sea horse. Ultimately, the ideal destination depends on what you want to shoot.


