

The spirit of adventure goes hand in hand with scuba diving. After all, more than 70% of the Earth’s surface is covered with water – giving divers the chance to explore places that most people will never experience. This percentage includes countless different aquatic environments – from alpine lakes to deep sea trenches, and from tropical reefs to freezing polar seas. Each environment presents a unique set of challenges, and in this article, we take a look at four of those most commonly encountered by scuba divers.
Cold Water Diving
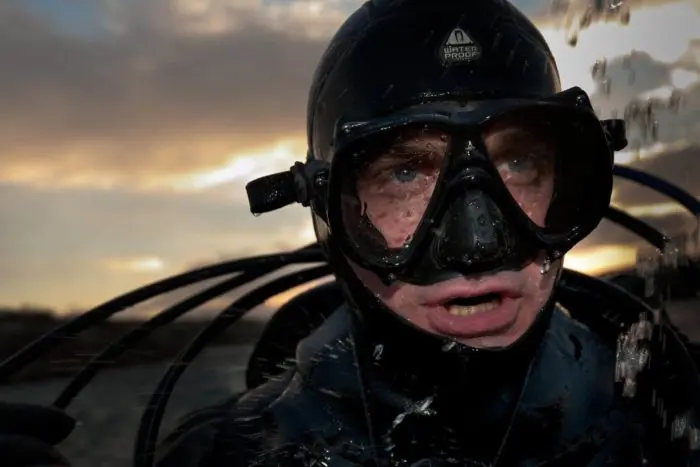
While intentionally immersing oneself in cold water may not sound like fun, some of the world’s most rewarding dive sites are found in temperate countries. Imagine the otherworldly kelp forests of Cape Town and Tasmania; or the crystalline waters of the Silfra tectonic fissure in Iceland.
However, the human body does not do well when exposed to frigid temperatures for extended periods of time. In order to avoid hypothermia, it’s imperative that cold-water divers dress for the cold. Depending on the extremity of the conditions, this can mean anything from donning gloves and a hood to investing in thermals and a drysuit. Drysuits are a cold-water diver’s best friend – but they do require some getting used to. It’s a good idea to sign up for a drysuit specialty course before attempting your first dive in open water.
Be aware that you will most likely require extra weight to counterbalance the added buoyancy of a drysuit or thicker neoprene. The initial shock of cold water causes most divers to breathe more rapidly at the beginning of a dive, so be prepared for your air consumption to suffer and make sure to check your gauges regularly. You need to be able to recognize the signs of early hypothermia (including shivering, lethargy and impaired co-ordination), and call the dive immediately if you spot them in either yourself or your buddy.
Cold water also affects your dive equipment. In particular, cold conditions can cause your regulator first stage to freeze, initiating a dangerous free flow of air from the second stage. The best way to combat this is to use a regulator especially designed for cold water. Most designs ward off the effects of the cold with an environmentally sealed first stage.
Altitude Diving
Many of the world’s most beautiful freshwater dive sites are located in high hills or mountains. If they’re over 300 meters/ 1,000 feet in elevation, they classify as altitude dive sites and require specialized training. This is because atmospheric pressure changes at altitude, affecting the rate at which your body absorbs nitrogen and altering the accuracy of standard dive tables.
For example, at an elevation of 300 meters/ 1,000 feet, a dive to 18.2 meters/ 60 feet has the same effect on your body as diving to 18.8 meters/ 62 feet in the ocean. While this may not seem like a significant difference, the discrepancy between diving at sea level and diving at altitude increases with depth and altitude. At an elevation of 2,740 metres/ 9,000 feet, the same dive to 18.2 metres/ 60 feet is equivalent to diving to 25.6 metres/ 84 feet in the ocean. You need to learn what this means in terms of your body’s susceptibility to decompression sickness, and how to adjust bottom times and safety stops in order to stay safe.
It’s also important to remember that both Bourdon tube depth gauges and capillary tube depth gauges give inaccurate depth readings at altitude. The former will tell you that you’re shallower than you really are, while the latter will tell you that you’re deeper. Electronic depth gauges can be inaccurate as well, depending on the model of your dive computer. Most modern computers automatically adjust their settings for altitude dives, but it’s important that you check your manual carefully.
Other considerations for diving at altitude include ascending at a slower rate of 10 meters/ 30 feet per minute, and ensuring that you observe all safety stops. You should give your body time to acclimatize before attempting a dive at a higher elevation – a minimum of six hours is recommended. Due to the thinner air at altitude, hypoxia can be a problem (this occurs when the body cannot absorb as much oxygen as it needs). To counter this, give yourself extra time to kit up and try to minimize the weight of your gear in order to avoid overexertion.
Night Diving
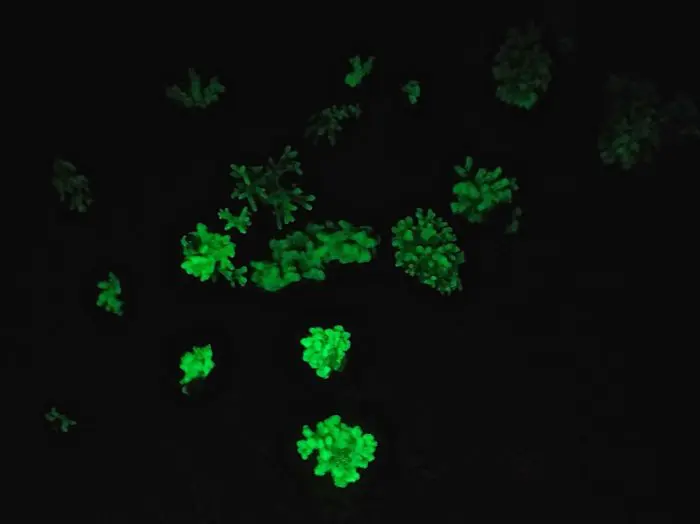
Night diving is amazing. Once the sun sets, a new cast of nocturnal animals replace the reef dwellers of the day, and in the narrow beam of your torch, true colors are revealed in all their vivid glory. Of course, finding yourself surrounded by the utter blackness of the ocean at night can also be intimidating, especially for first-time night divers.
It is crucial that you feel completely comfortable underwater before attempting to dive at night. This means that you need to be confident in your diving abilities, and in your equipment – a night dive is not the right time to trial new gear. Clearly, the most important equipment item on a night dive is your torch. You need a minimum of two each – one as a primary, and one as a backup should your first torch malfunction. Make sure that your batteries are charged before each dive and hopefully this won’t happen – but if it does, it’s time to end the dive. Your backup is exactly that, and can’t be used as a primary if your first torch fails.
You should also have a light attached to your tank so that your buddy can spot you easily both on the surface and underwater. If you’re diving from a boat, the boat must also have a bright light so that you can see it when you surface. If you’re diving from shore, you need to mark your entry and exit point with a torch or beacon. Before you enter the water, make sure to discuss your signs and signals with your buddy. You can use your torch beam to execute basic signs (a circle for “OK”, a side-to-side movement for distress), or you can use it to illuminate normal hand signals.
Navigation is obviously a lot trickier in the dark. The best bet is to dive with an experienced guide who knows the area well and is used to diving at night. Alternatively, get to know the site in the day before attempting to explore in the dark. A compass (and the know-how needed to use it) is essential. Take extra care to stay close to your buddy, and make sure that both of you are aware of the procedure if you get separated. Lastly, it’s always advisable to enter the water before sunset, so that you have time to assess the conditions properly before full dark.
Drift Diving
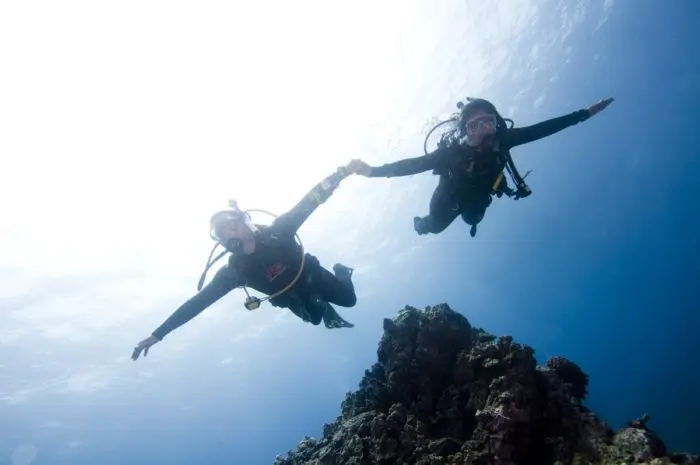
Ocean currents transport plankton and vital nutrients, and as such, they often attract an incredible variety of marine life. For this reason, some of the best dive destinations in the world (Indonesia, Palau, Tahiti) include more than their fair share of drift diving sites. While flying along in the current can be exhilarating, many find the loss of control scary at first.
The best way to deal with current is to be prepared. This means knowing what to expect, by researching your dive site in advance, consulting weather reports and/ or diving under the supervision of an experienced local guide. Most importantly, you need to know which direction the current is going in so that you can plan your dive accordingly. You should always go with the current – fighting against it causes unnecessary stress, leading to increased air consumption and ultimately, exhaustion.
Equipment is key here, too. A reef hook can be handy, allowing you to anchor yourself if you need to stop mid-current. A surface marker buoy (SMB) is essential and should be carried throughout the dive by the designated leader. The rest of the group can descend on the SMB line, allowing them to reach the bottom together (especially difficult on a free descent, considering that current is usually stronger at the surface). Throughout the dive, the SMB is visible to the boat crew, helping them to follow closely behind and provide immediate backup in case of an emergency.
Each diver should also carry a delayed surface marker buoy (DSMB), which they can inflate if they become separated from the group. Lastly, until you’re confident in current, it’s best not to weigh yourself down with other, non-essential equipment – including cameras. You need your hands-free so that you can inflate or deflate your BCD to counter upwellings and downwellings. You also need to check your pressure gauge regularly, because diving in high-octane scenarios naturally results in quicker air consumption.